
Best Discounts
The best discounts this week
Every week you can find the best discounts here.

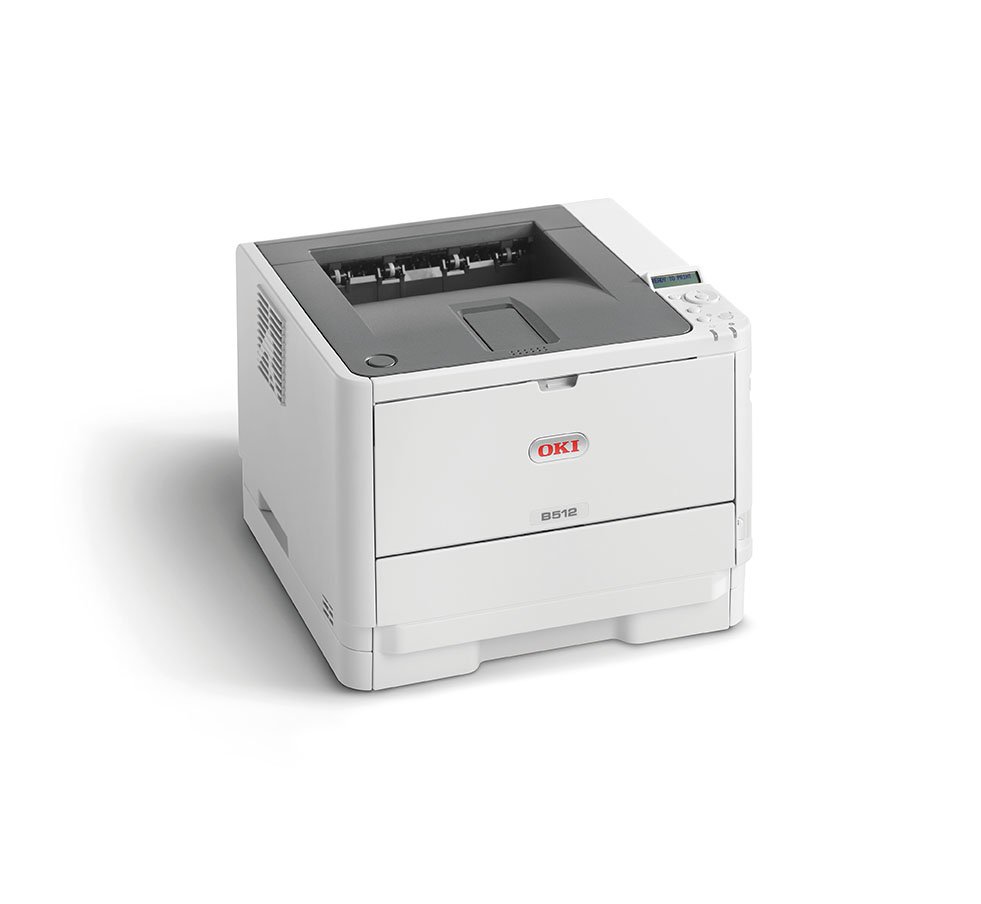
OKI B432dn LED Printer, 1200 x 1200 DPI, A4 Format, 40 Pages per Minute, Duplex Printing, Network Capable
€205.58
In Stock
- High-speed black-and-white printing at 40 pages per minute.
- First page out time of just 4.5 seconds.
- Print resolution of 1200 x 1200 DPI for exceptional quality.
- Supports various paper sizes, including A4, A5, and legal formats, with a maximum capacity of 880 sheets.
- Multiple printer languages supported: PostScript3 (Emulation), PCL5e, PCL6(XL), and more.
- Features include duplex printing, ECO mode, whisper mode, and automatic shut-off for energy efficiency.
- Connectivity options include Hi-Speed USB 2.0 and 10/100/1000 Ethernet, with optional Wi-Fi.
- Backed by a 3-year warranty for reliable performance.
In Stock
- Delivered today (order Mon-Fri before 12:00, delivery between 17:00 and 22:00)
- Including shipping costs, sent by buymefy.com
- Pick up at a buymefy.com collection point is possible
- 30 days to change your mind and free returns
- Day and night customer service
Description
How to Use the OKI B432dn Printer
Getting Started
- Unbox the Printer
- Carefully remove the printer from the packaging.
- Remove any protective tapes and materials.
- Place the Printer
- Choose a flat and stable surface near a power outlet.
- Ensure there is enough space for paper and connectivity.
- Connect to Power
- Plug the power cord into the printer and then into a power outlet.
- Press the power button to turn on the printer.
Loading Paper
- Open the Paper Tray
- Pull out the paper tray from the printer.
- Load Paper
- Adjust the paper guides to fit the size of the paper (A4, A5, etc.).
- Load the paper stack into the tray, ensuring it is aligned properly.
- Close the Paper Tray
- Push the paper tray back into the printer until it clicks into place.
Connecting the Printer to a Network
- Connect via Ethernet (Wired Connection)
- Connect an Ethernet cable from your router to the printer’s Ethernet port.
- Connect via Wi-Fi (Wireless Connection)
- Press the Menu button on the printer control panel.
- Navigate to Network Settings and select Wireless Setup.
- Follow the on-screen instructions to connect to your Wi-Fi network.
Installing Printer Drivers
- Visit the OKI website
- Go to the support section and find the drivers for the B432dn model.
- Download and Install Drivers
- Download the appropriate drivers for your operating system.
- Run the installer and follow the prompts to complete the installation.
Printing a Document
- Open the Document
- Open the file you want to print on your computer.
- Select Print
- Click on ‘File’ in the menu, then select ‘Print’.
- Choose the OKI B432dn Printer
- Select the OKI B432dn from the list of available printers.
- Adjust Print Settings
- Set the number of copies, paper size, and any other preferences.
- Click the ‘Print’ button to start printing your document.
Maintaining Your Printer
- Check Toner Levels
- Regularly check the toner levels through the printer’s control panel.
- Replace Toner Cartridge
- When toner is low, replace it with a new cartridge.
- Keep Printer Clean
- Dust the exterior and clean the interior as needed.
Troubleshooting Common Issues
- Printer Not Responding
- Check power connections and ensure the printer is turned on.
- Verify that the printer is connected to the network.
- Print Quality Issues
- Check toner levels and replace cartridges if necessary.
- Run a print quality check from the printer settings.
- Paper Jams
- Open the printer and carefully remove any jammed paper.
Helpful Tips
- Utilize the ECO mode to save energy when not in use.
- Regularly update the printer firmware for better performance.




Reviews
There are no reviews yet.